×
Menu

Vehicle fleet

Vehicle fleet
1

"Vehicle fleet" tab

1. "Vehicle fleet" tab
The Vehicle fleet tab allows you to add, change and delete monitored objects.
2

List of vehicle fleets

2. List of vehicle fleets
This tool allows you to select the necessary vehicle fleet from the drop-down list.
3

Area of vehicle fleet structure

3. Area of vehicle fleet structure
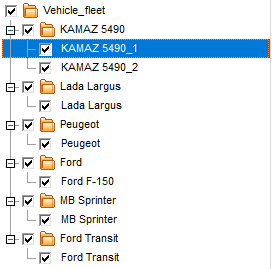
After you have selected a vehicle fleet from the list, its structure is displayed in the area of vehicle fleet structure, where you can select all objects of the vehicle fleet, ot just one object/group pf objects.
4

"Search" button

4. "Search" button
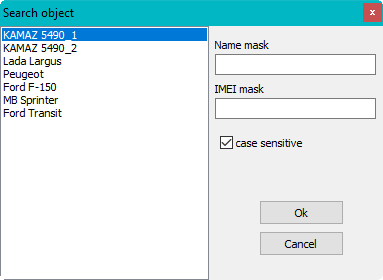
This button allows to find objects in the vehicle fleet structure quickly. When you click this button, the Advanced search window appears, where you can set the parameters for searching: filename mask, IMEI mask, case-sensitive.
5

Save vehicle fleet

5. Save vehicle fleet
Using this button, you save the vehicle fleet with the current settings as an archive .
The file archive is saved in the root directory of the aplication (Geostron-Parks).
6

Save vehicle fleet as

6. Save vehicle fleet as
This button allows to change the name of the vehicle fleet.
7

Delete vehicle fleet

7. Delete vehicle fleet
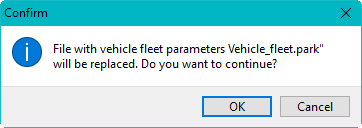
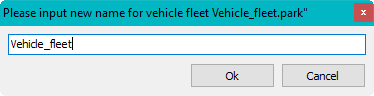
Using this button, you can delete the selected vehicle fleet from the list. When you click the button, a warning window appears.
When you click "Ok", the selected vehicle fleet is deleted from the list of vehicle fleets in the application, and it is also deleted from the corresponding directory of the application (Geostron-Parks).
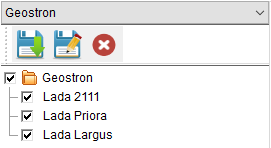
Instead, a demo-fleet with the name Geostron, will appear, and it will include three objects:
8

"Connection" tab

8. "Connection" tab
The Connection tab helps you to create, edit and delete information about monitored objects.
9

"Object" tab

9. "Object" tab
The Object tab allows you to store general information about monitored objects.
10

"Sensors" tab

10. "Sensors" tab
The Sensors tab helps to map sensors with physical inputs of tracking device.
11

"Operation control" tab

11. "Operation control" tab
The tab Operation control helps you to set service interval to control parameters telling about the fact that the next schedule is due, and also to set threshold values for absence of data and for disparity between values of km travelled received from CAN and GLONASS.
12

"Driving quality" tab

12. "Driving quality" tab
The tab Driving quality helps you to set parameters that evaluate driving quality, for every monitired object.
13

"Ok" button

13. "Ok" button
Using this button, you save the changes and close the Settings window.
14

"Apply" button

14. "Apply" button
Using this button, you save the changes, but the Settings window stays active.
15

"Cancel" button

15. "Cancel" button
Using this button, you cancel all the changes and close the Settings window.
16

"Help" button

16. "Help" button
Using this button, you open the Instruction for this section.