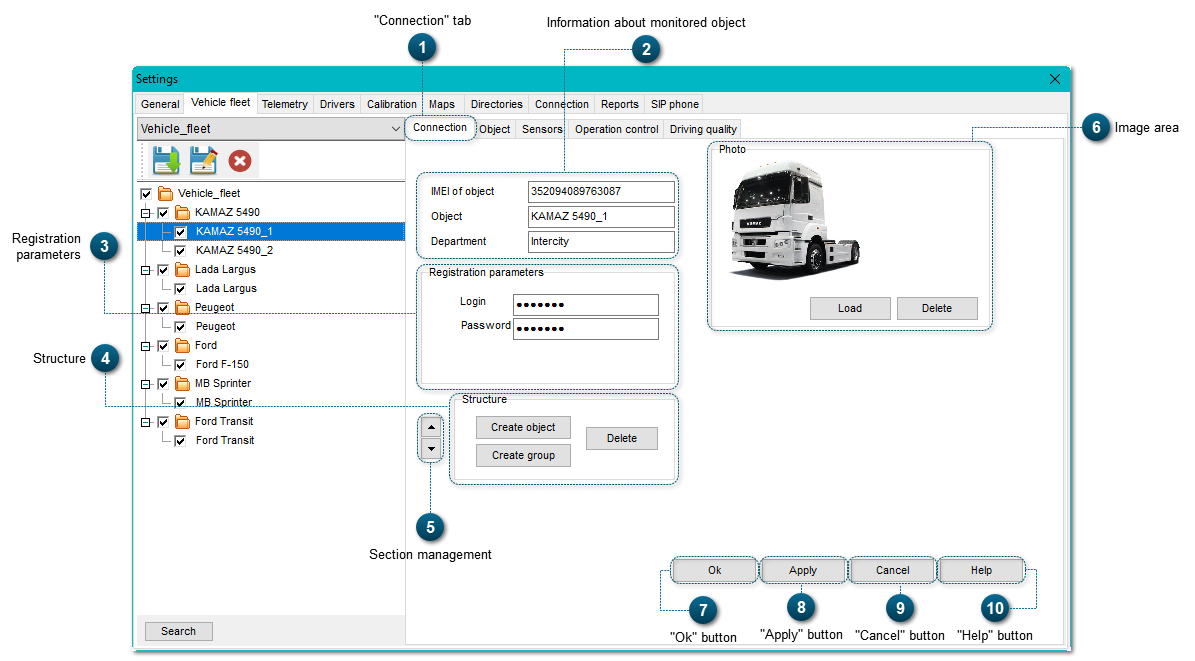
This area is designed for you to input and edit information about some monitored object.
In the text field IMEI of object, you need to input the 15-character IMEI code of the tracking device, installed on the object.
Important: a device for remote tracking (a tracking device or a tracker) has an identification code IMEI. If you make a mistake while inputting the code, the system will not be able to get information about the selected object. Check the information carefully when adding or editing the IMEI code.
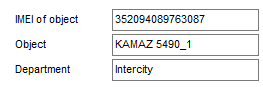
After an object has been created, you need to associate it with a certain user. To do it, you need to input registration parameters of the user in the text fields Login and Password.
The registration parameters are given by the server administrator.
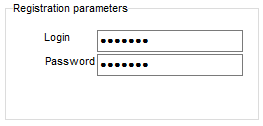
In this area, you can create and delete monitored objects.
To delete an object, select the necessary line in the vehicle fleet structure and click Delete (if you have selected a group of objects, all the objects in this group will be deleted, too).
You can read about the process of creation of an object or a group of objects in the corresponding sections: Group creation, Object creation.
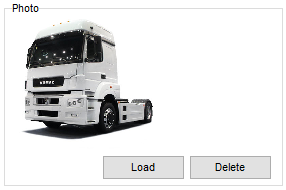
This area is made to preview the image/photo of a monitored object.
In order to add or change an object's image, you need to click the Upload button and choose a file for uploading, the file should be in the .jpg format.