To properly display this page you need a browser with JavaScript support.
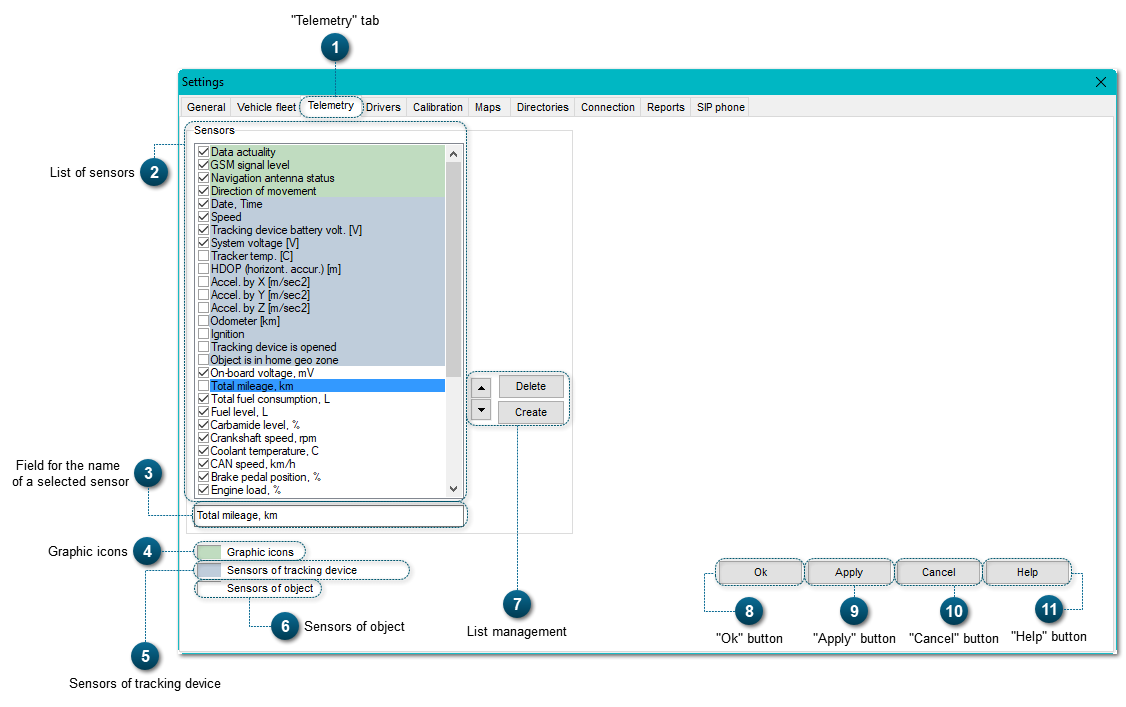
"Telemetry" tab Telemetry tab allows to add and delete telemetry sensors, and also to set attribute tables in the Telemetry Panel .
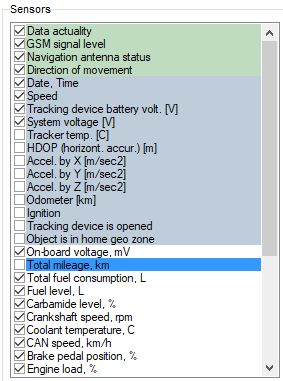
List of sensors For the sensors, selected with a tick, additional columns are created in the Telemetry Panel .
Field for the name
of a selected sensor When you select a sensor in the list, its name appears in this text field. You can edit the names of the sensors that can be configured (object sensors).
Graphic icons This indicator means that sensors are displayed in the telemetry panel as graphic icons.
Sensors of tracking device This indicator is used for the sensors that don't need to be configured.
Sensors of object This indicator is used for the sensors that can be configured.
To configure sensors, use the tab Sensors in the Settings window.
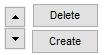
List management This tool allows to create, delete and move sensors in the window with the list of sensors.
"Ok" button Using this button, you save the changes and close the Settings window.
"Apply" button Using this button, you save the changes, but the Settings window stays active.
"Cancel" button Using this button, you cancel all the changes and close the Settings window.
"Help" button Using this button, you open the Instruction for this section.