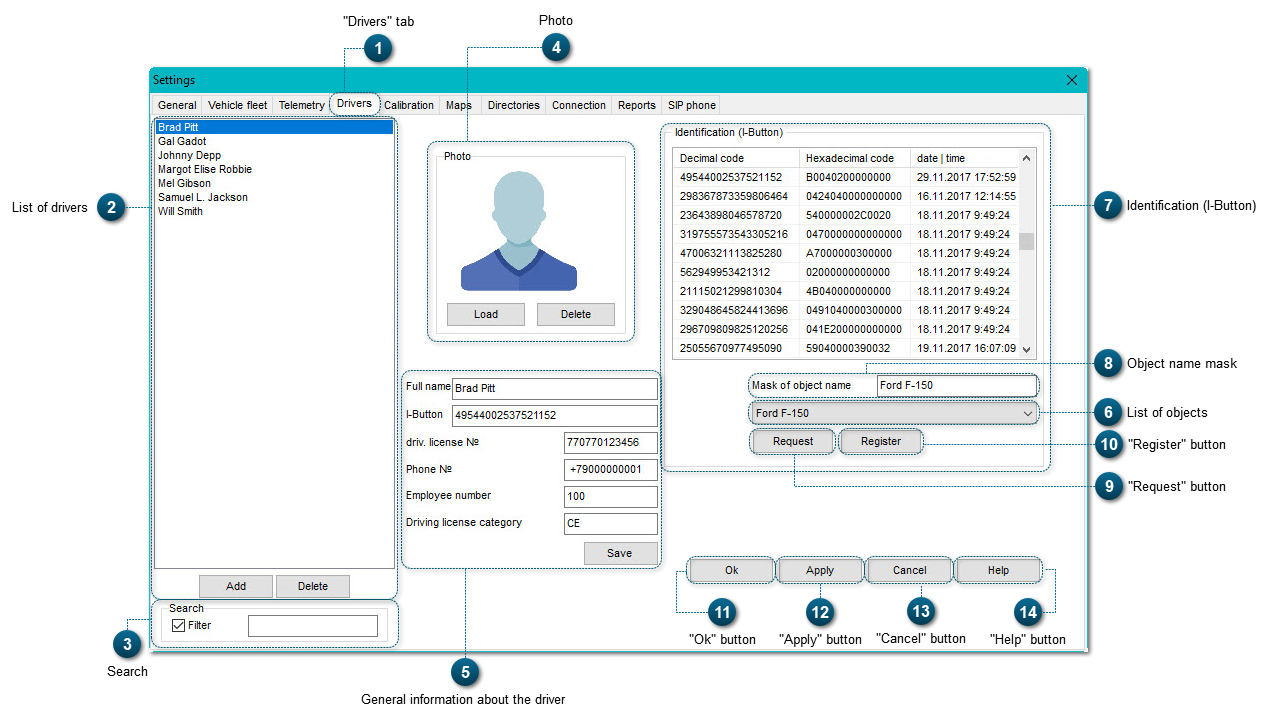
Here a list of drivers of a selected vehicle fleet is displayed. To add a new driver, click he button Add. To delete a driver from the list, select the necessary driver in the list with mouse cursor, and click Delete.
This tool allows to search a driver in the list. To activate this function, put a tick in the checkbox Filter, and set the search parameters (it's enough to input first letters of the driver's last name).
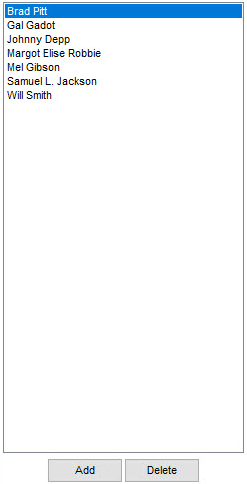
The I-Button key is a unique identification number of a driver. Since several drivers can be assigned to the same vehicle in the system, and they drive the vehicle in turns, every one of them gets a I-Button key. Before a driver begins driving the vehicle, he/she needs to hold the key up to the reader unit (scanner), and the program identifies the driver.
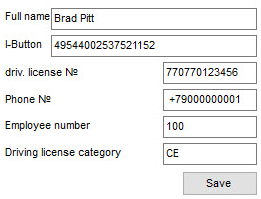
Algorithm for identification of an I-Button key and for association of this key with a certain driver:
1. A key is given to a driver (you don't know the key's number);
2. The driver holds the key up to the reader unit in a certain vehicle, and the system records the time of this operation.
3. If the driver is new, and there is no information about him/her in the system, you need to input the information according the instruction above.
4. You select the vehicle where the driver has held his/her key up to the reader unit. To simplify the search of the vehicle in a large list, you can use the Object mask.
5. You click Request to get the list of numbers of the keys that have been identified by the reader unit in the selected vehicle.
6. In this list, we select the line that corresponds to the identified key (it will be easier for you to find the necessary line if you look at the time and date when the key was used).
7. When you click Registration, the key is associated with the driver selected on the left side of the window.