To properly display this page you need a browser with JavaScript support.
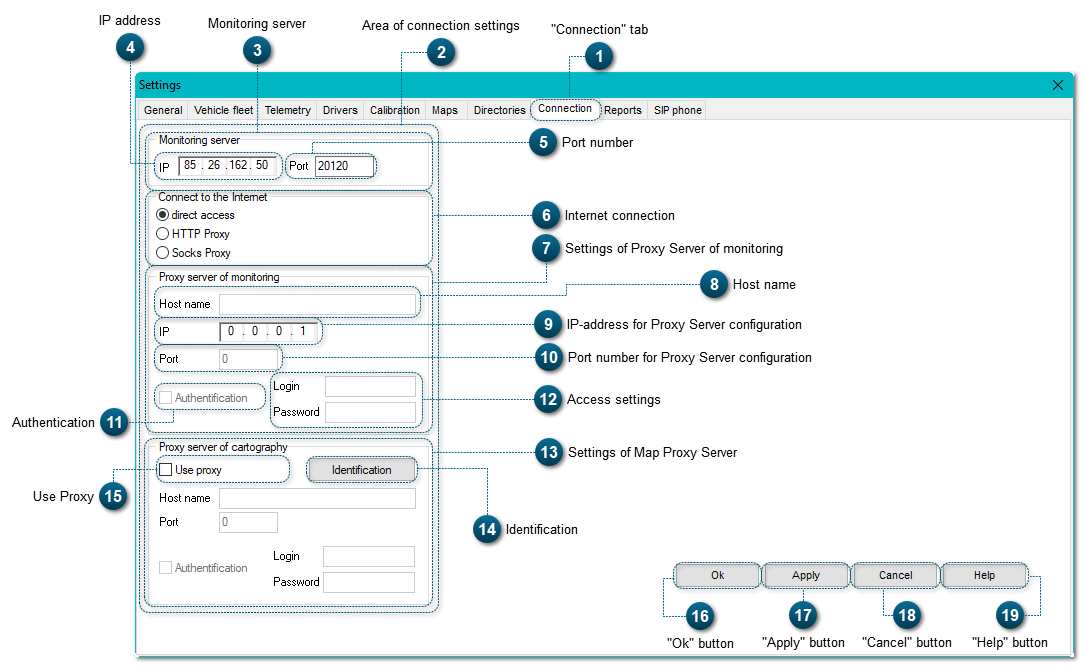
"Connection" tab In the tab Connection you can set parameters that the application will use to get access to the server.
Area of connection settings The area of monitoring settings includes the following:
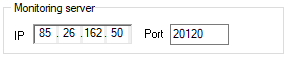
Monitoring server To configure the monitoring server, you need to input values for IP and Port .
IP address Here the IP-address of the server is indicated. You computer connects to this server to get the monitoring data.
Port number Here the Port number is indicated. You computer connects to this server to get the monitoring data.
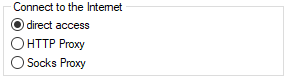
Internet connection Here you select the internet connection type: direct access, usage of HTTP Proxy or Socks Proxy.
Important : you don't need to set Proxy parameters if your computer has direct internet connection.
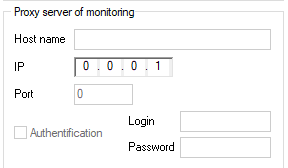
Settings of Proxy Server of monitoring To set a Proxy Server , you need to input the Host name and the values for IP and Port .
Host name Input the Host name used for the identification on the server.
IP-address for Proxy Server configuration Here the IP-address of the Proxy Server is indicated.
Port number for Proxy Server configuration Here the Port number of the Proxy Server is indicated.
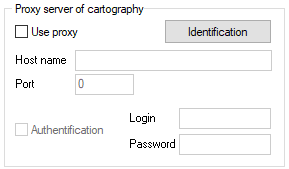
Authentication The administrator puts a tick in this checkbox when authentication is needed for connection to the Proxy Server. Then he/she needs to input login and password, click "Apply", and in the future, the application will be connected to this proxy server with these settings.
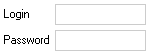
Access settings It is necessary to set Login and Password that will be used for the connection to the Proxy Server.
Settings of Map Proxy Server To set a Proxy Server , it is necessary to input Host name and Port number.
Identification When you click the button Identification , a procedure is performed to get Proxy Server settings.
Use Proxy If a Proxy Server is already set in the system, then there will be a tick in this checkbox, and the fields Host name and Port will be filled in automatically.
"Ok" button Using this button, you save the changes and close the Settings window.
"Apply" button Using this button, you save the changes, but the Settings window stays active.
"Cancel" button Using this button, you cancel all the changes.
"Help" button Using this button, you open the Instruction for this section.